
Close
All Intercoms
All PCI Intercoms are made in the USA with the highest quality components and highly educated technicians. Tested by our own race teams in the harshest conditions and packed full of features that will make for a more efficient day of racing and more enjoyable day in the desert.
Be sure to check out the upgrade options for PCI exclusive Bluetooth and DSP.
- Trax Intercom Package

 Trax Intercom PackageFrom $ 1,044.99From $ 1,044.99
Retail Price: - Trax Communications Package

 Trax Communications PackageFrom $ 1,844.99From $ 1,844.99
Retail Price: - Elite Intercom Package

 Elite Intercom PackageFrom $ 589.99From $ 589.99
Retail Price: - Elite Communications Package

 Elite Communications PackageFrom $ 1,364.99From $ 1,364.99
Retail Price: - Rocker Intercom Package

 Rocker Intercom PackageFrom $ 974.99From $ 974.99
Retail Price: - Rocker Communications Package

 Rocker Communications PackageFrom $ 1,779.99From $ 1,779.99
Retail Price: - Trax Plus Intercom Only
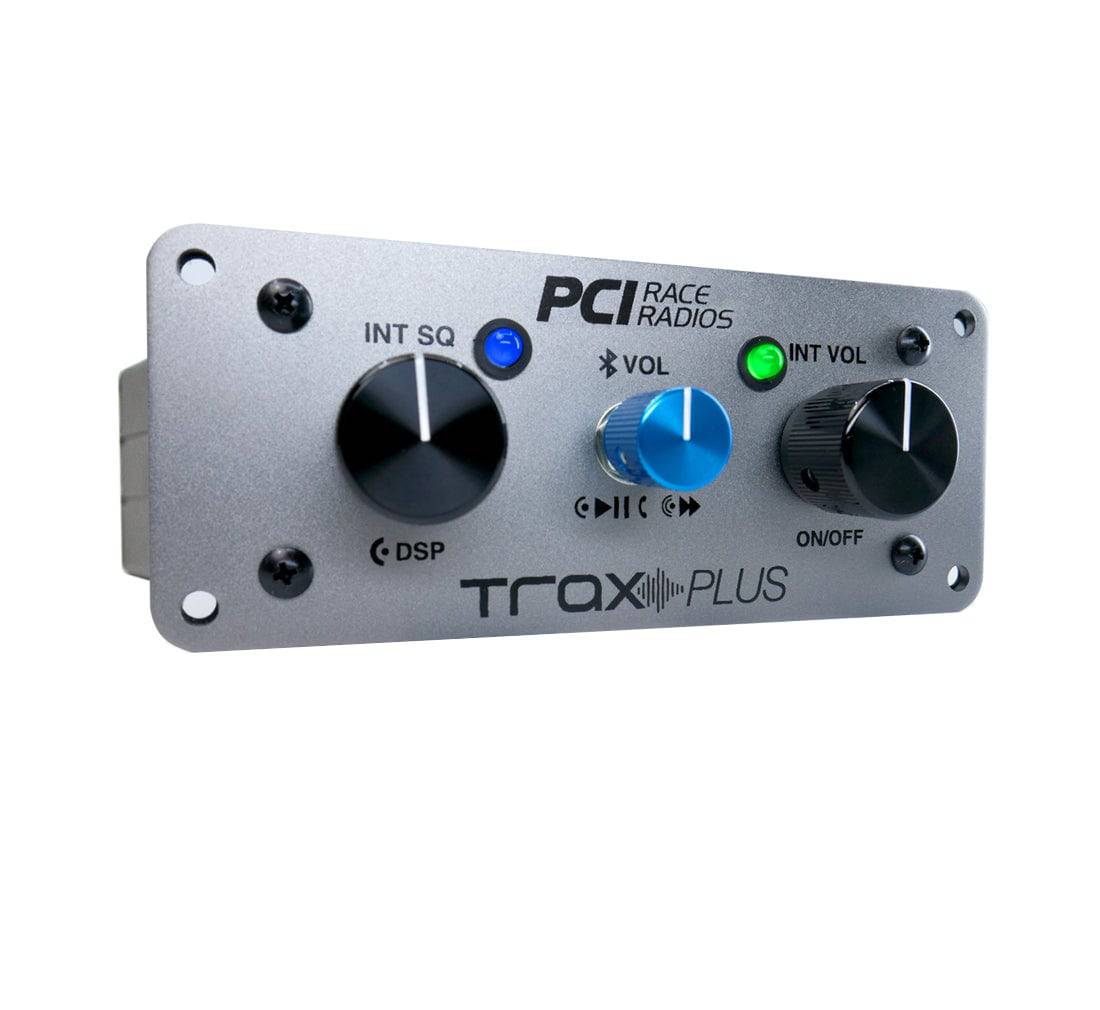
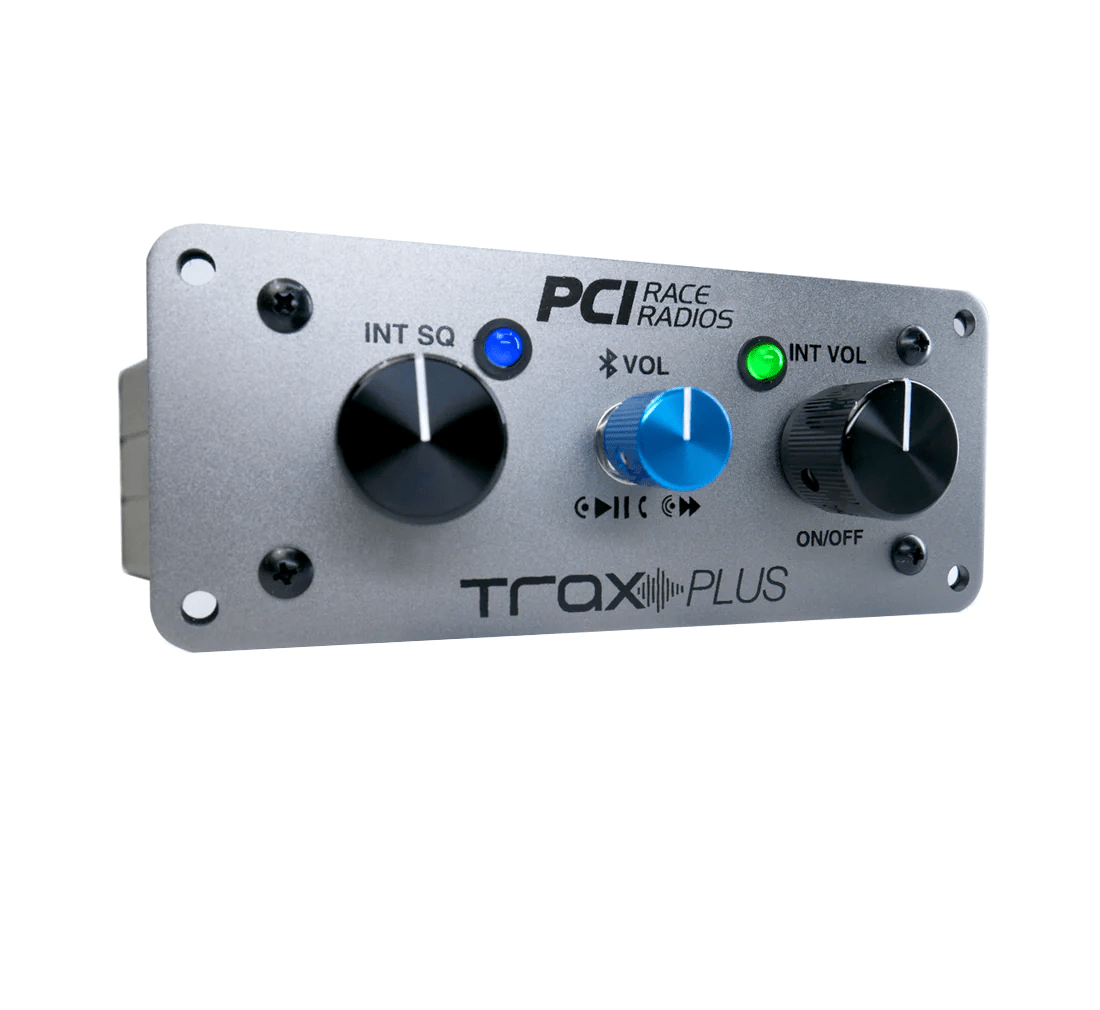 Trax Plus Intercom OnlyFrom $ 956.99From $ 956.99
Retail Price: - Elite Plus Intercom Only
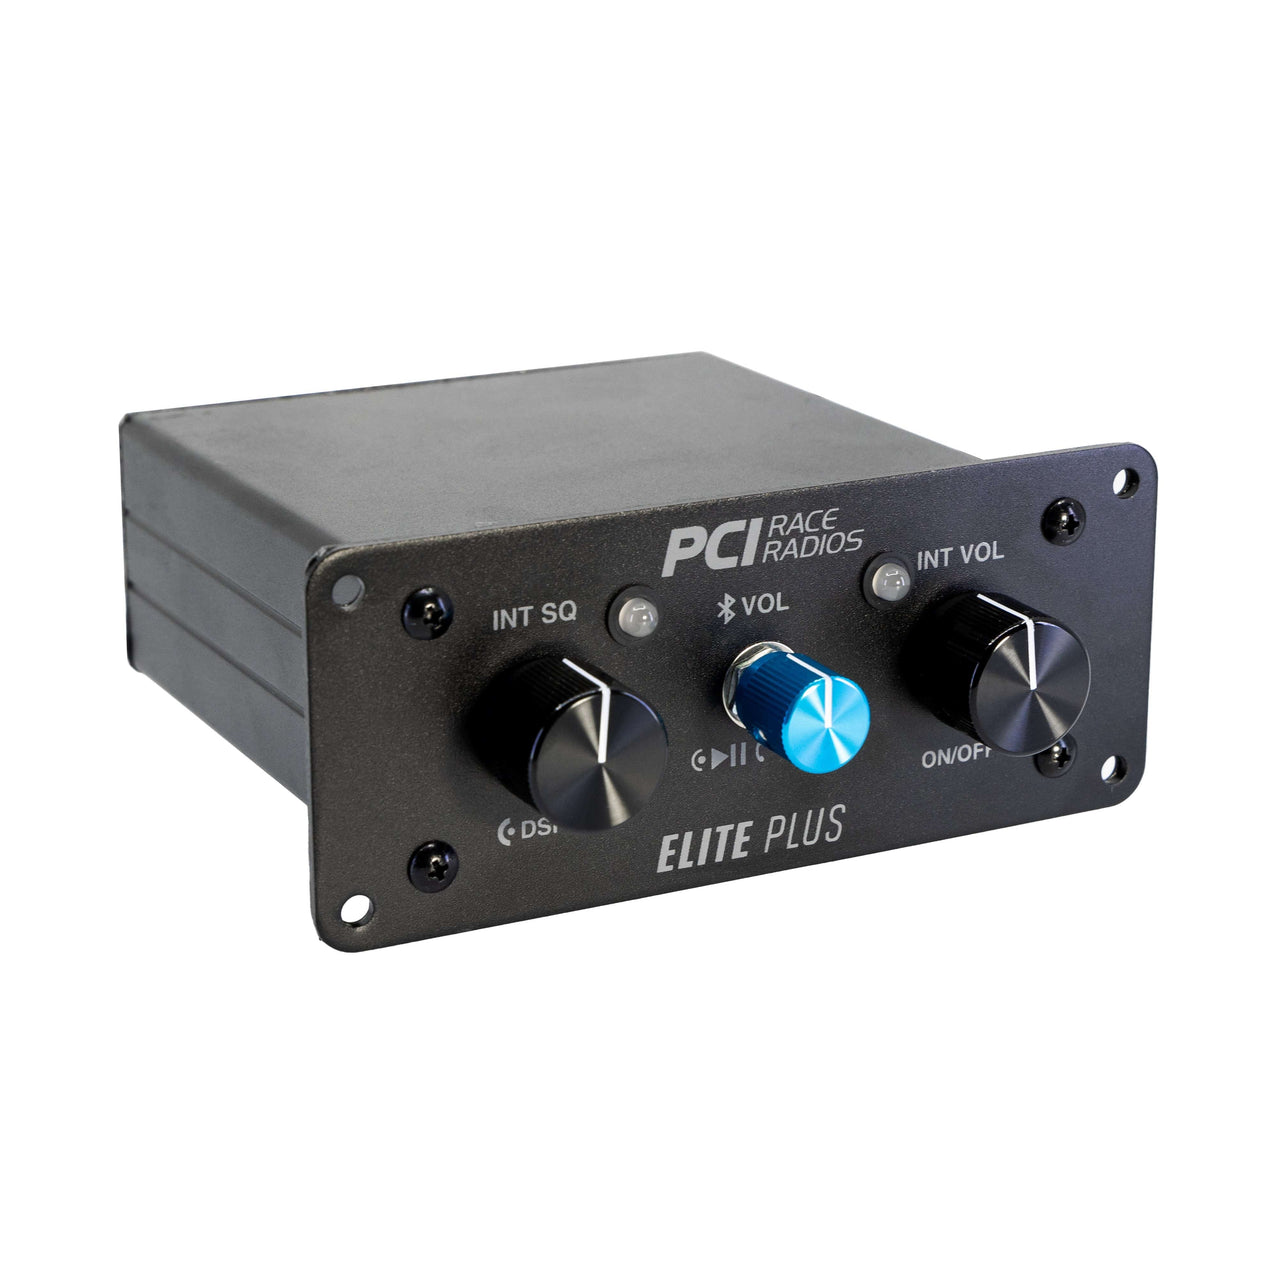
 Elite Plus Intercom OnlyFrom $ 478.99From $ 478.99
Retail Price: - Comlink RTX Package
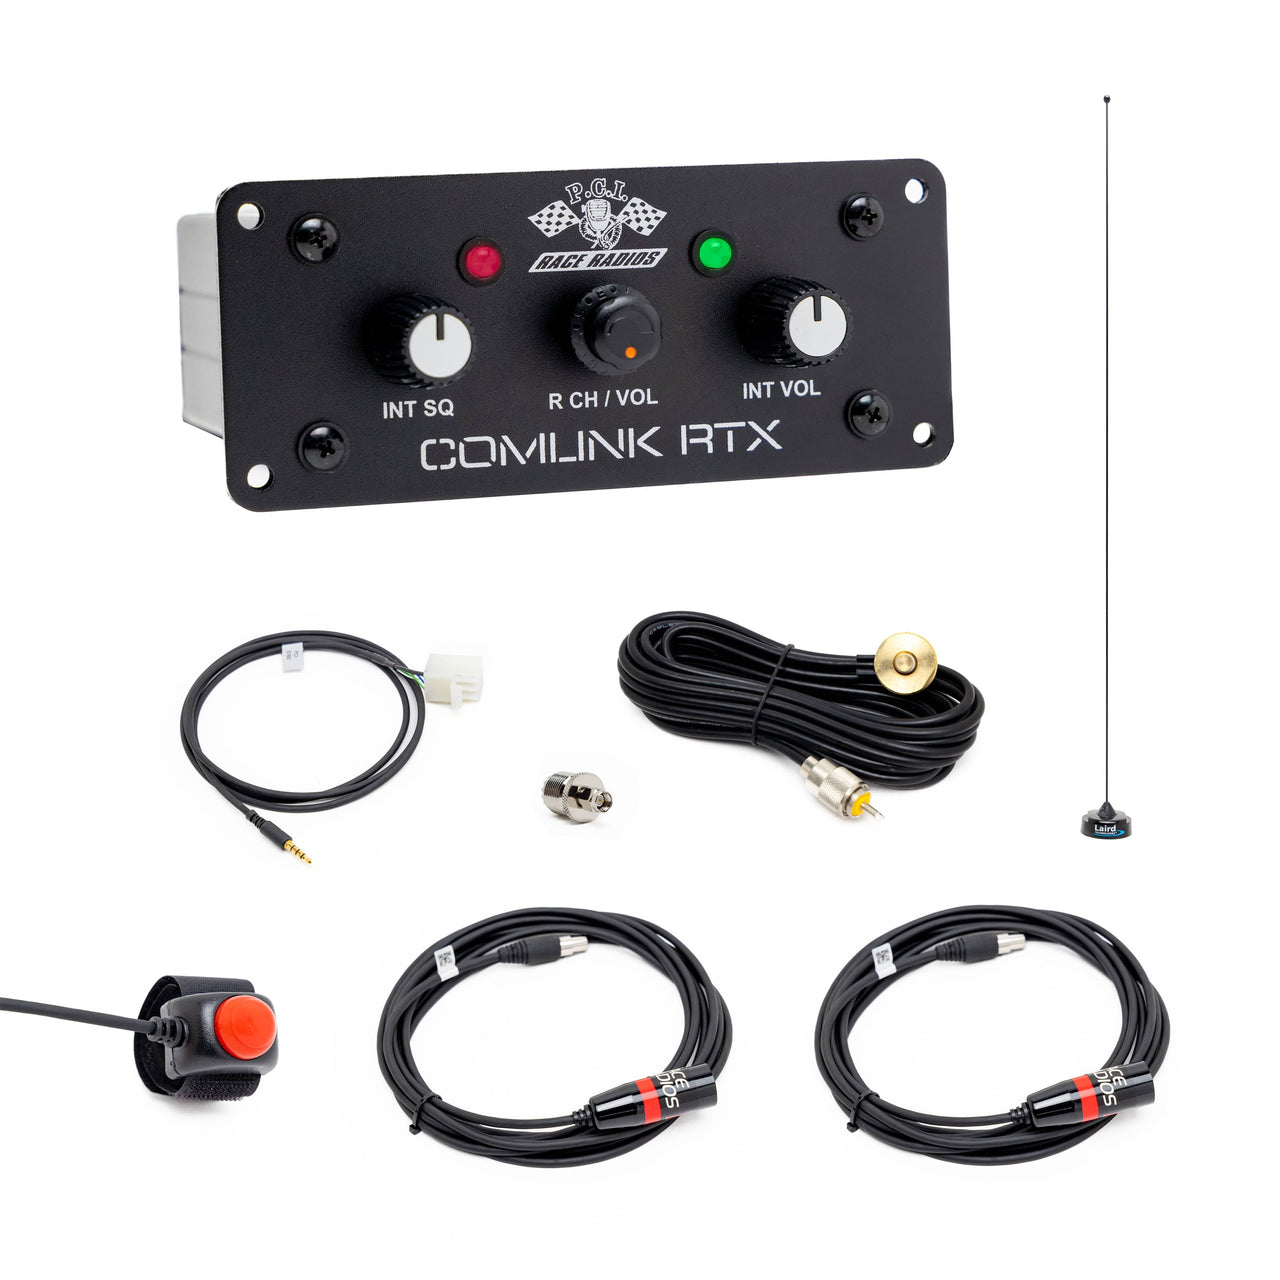
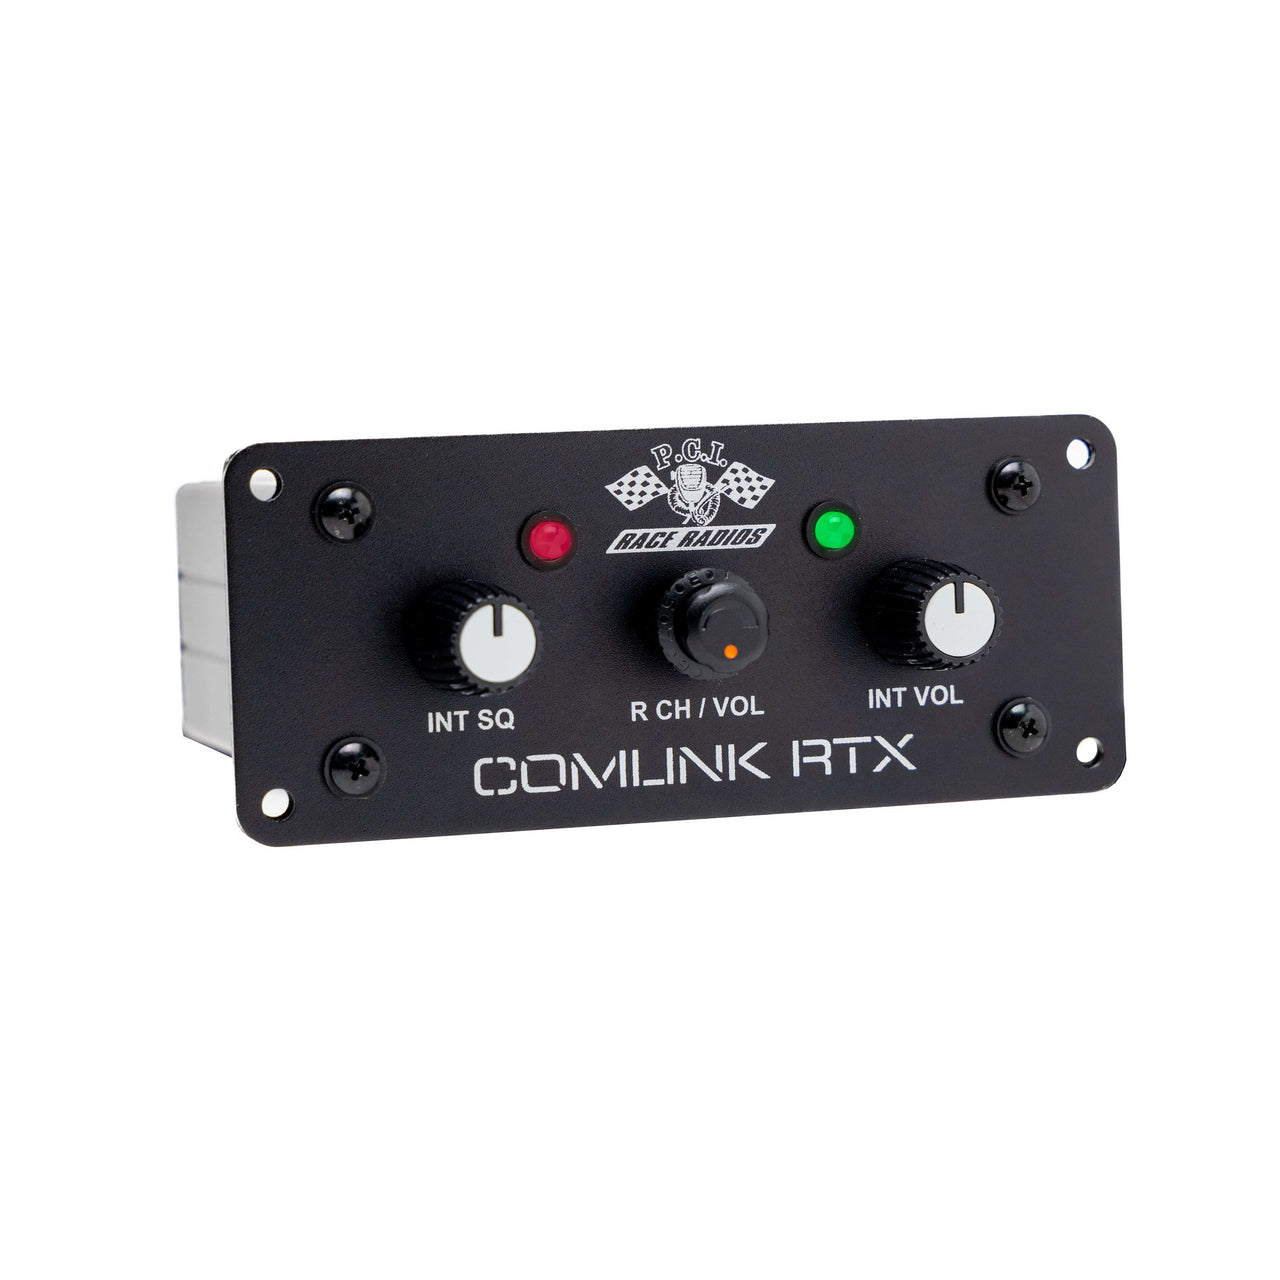 Comlink RTX Package$ 699.99$ 699.99
Retail Price: - Comlink X Elite Race Intercom
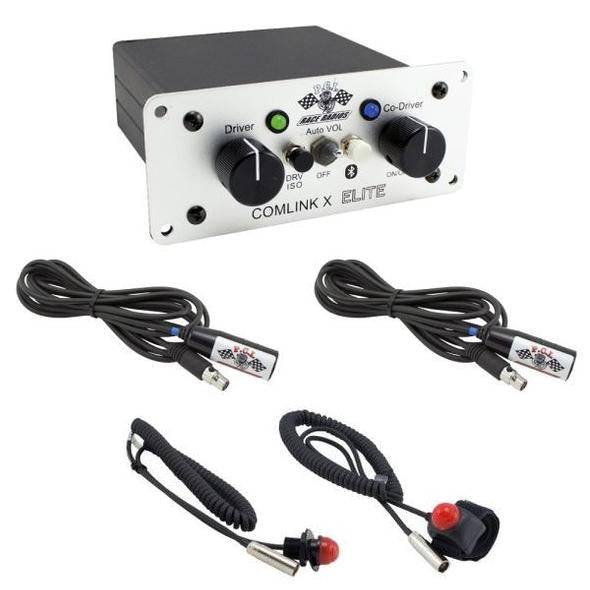
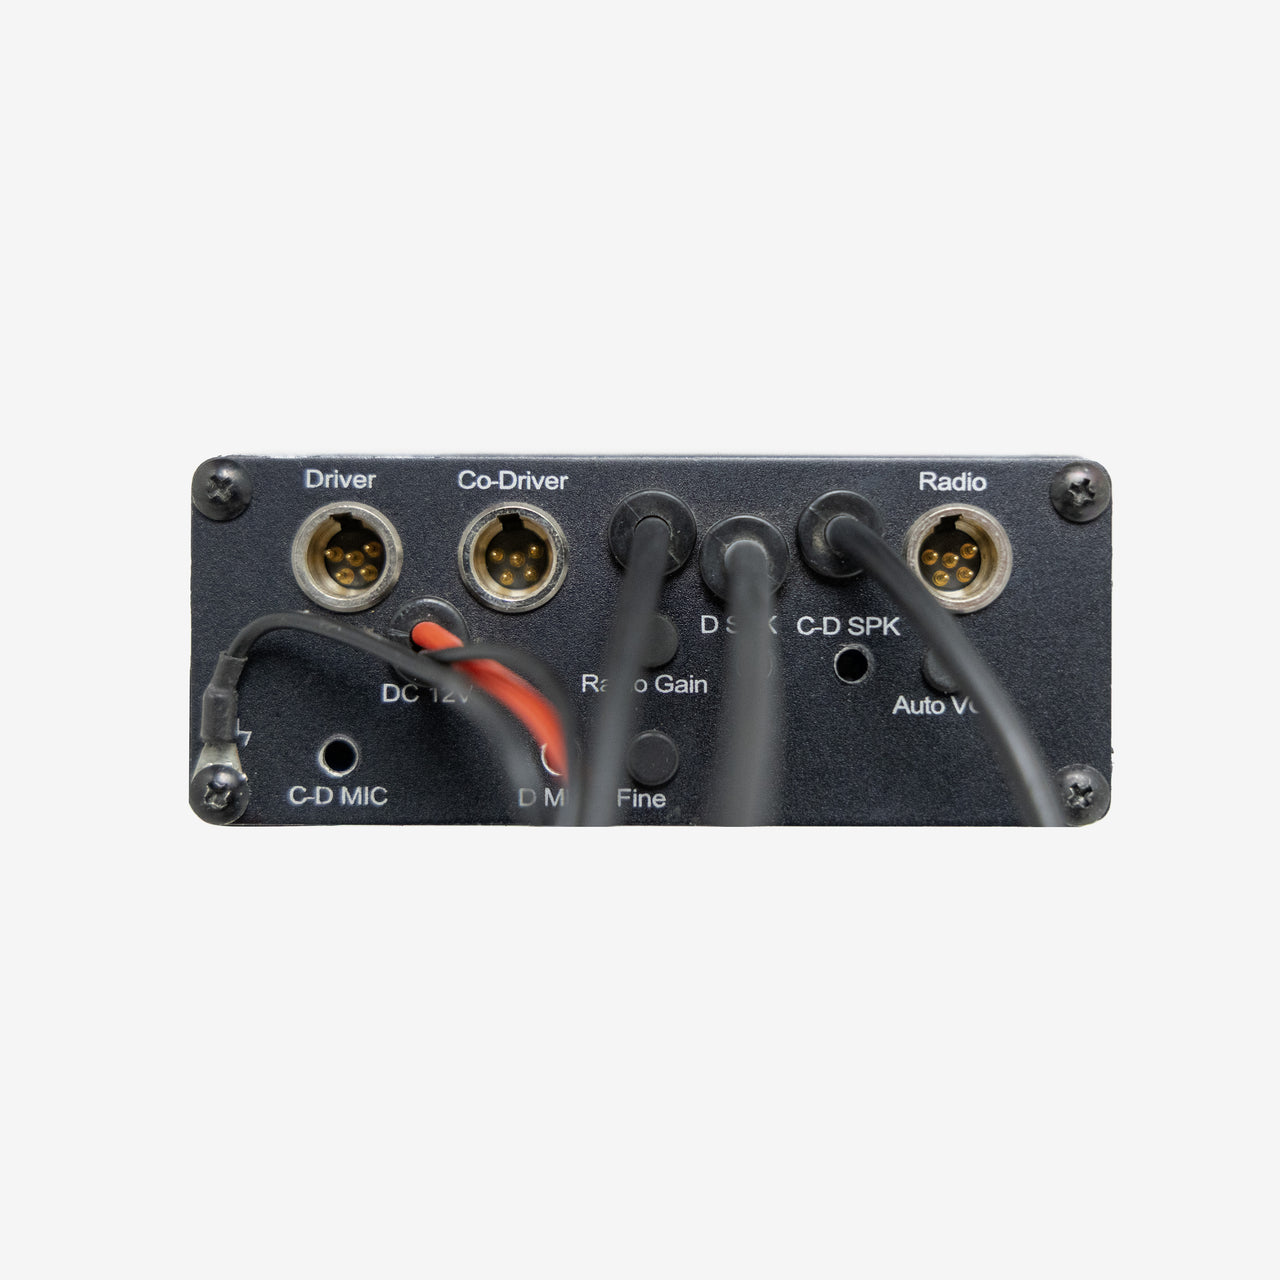 Comlink X Elite Race IntercomFrom $ 699.99From $ 699.99
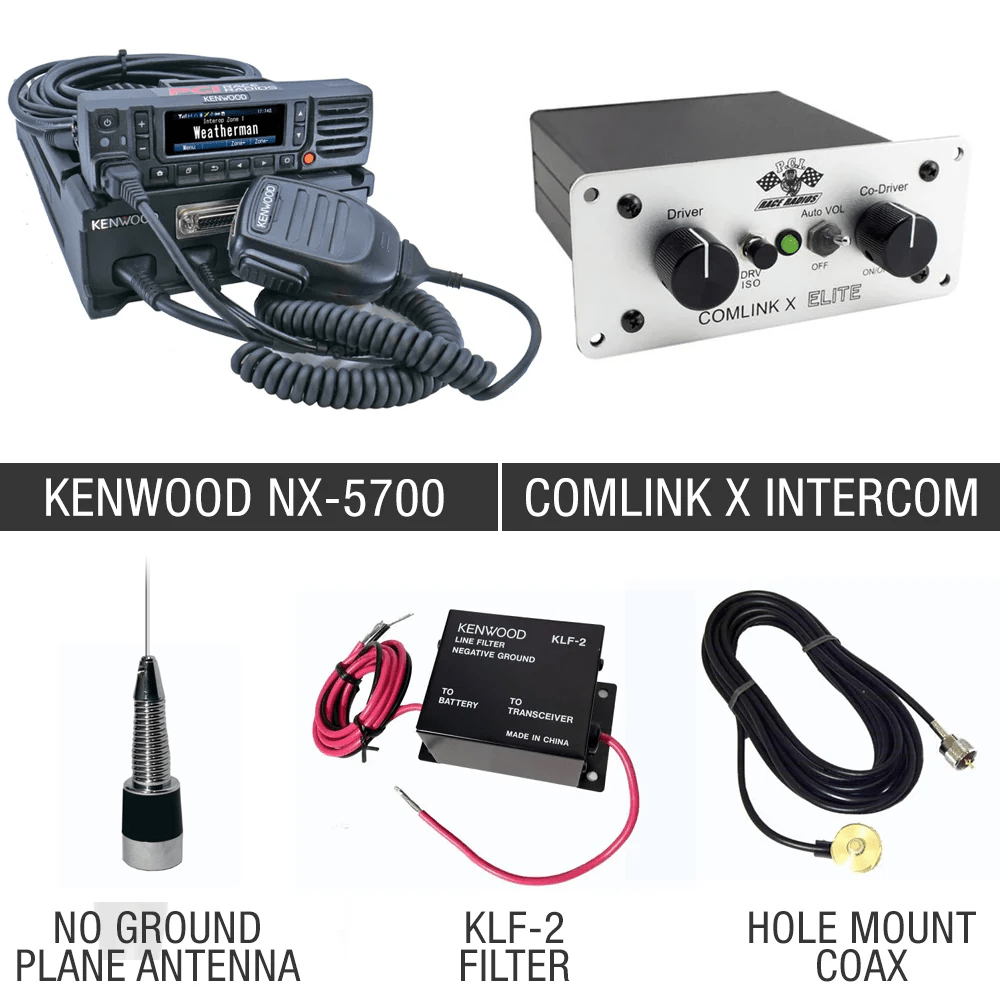
Retail Price: - Comlink X and Kenwood NX-1700 Race Package
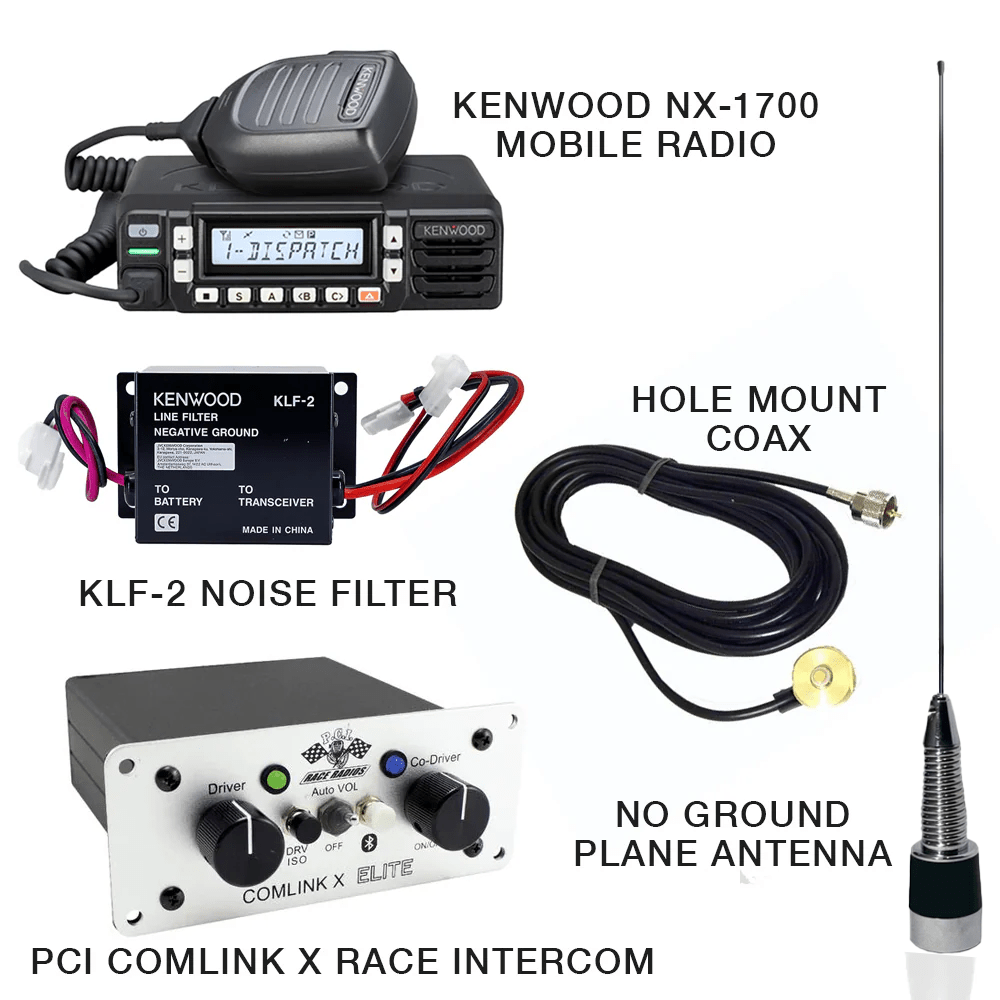 Comlink X and Kenwood NX-1700 Race Package$ 1,594.99$ 1,594.99
Retail Price: - 110w Race Package 10
 110w Race Package 10$ 3,739.99$ 3,739.99
Retail Price: - Comlink 6 Racing Intercom
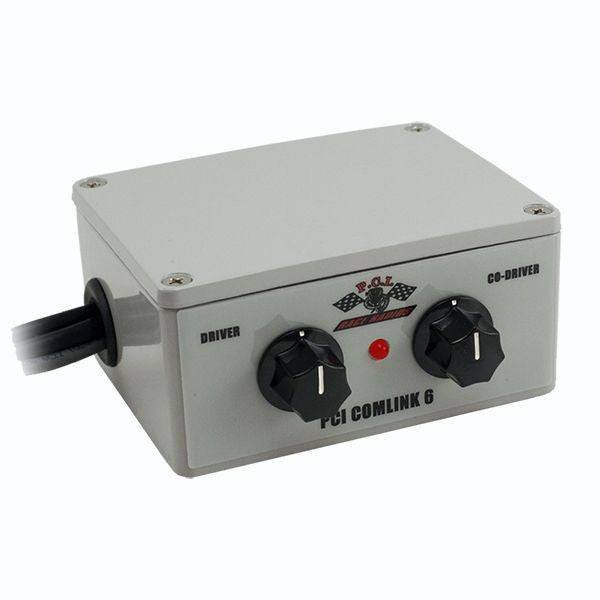 Comlink 6 Racing Intercom$ 524.99$ 524.99
Retail Price: - RZR PRO 2022-2024 Trax UTV Communications Package

 RZR PRO 2022-2024 Trax UTV Communications PackageFrom $ 1,844.99From $ 1,844.99
Retail Price: - RZR PRO 2022-2024 Elite UTV Communications Package

 RZR PRO 2022-2024 Elite UTV Communications PackageFrom $ 1,364.99From $ 1,364.99
Retail Price: - Maverick R PCI UTV Communications Package

 Maverick R PCI UTV Communications PackageFrom $ 1,779.99From $ 1,779.99
Retail Price: - Can Am X3 UTV Elite Communications Package

 Can Am X3 UTV Elite Communications PackageFrom $ 1,364.99From $ 1,364.99
Retail Price: - Can Am Defender Trax UTV Communications Package

 Can Am Defender Trax UTV Communications PackageFrom $ 1,844.99From $ 1,844.99
Retail Price: - Can Am Defender Elite UTV Communications Package
 Can Am Defender Elite UTV Communications PackageFrom $ 1,364.99From $ 1,364.99
Retail Price: - Kawasaki Teryx H2 Trax UTV Communications Package
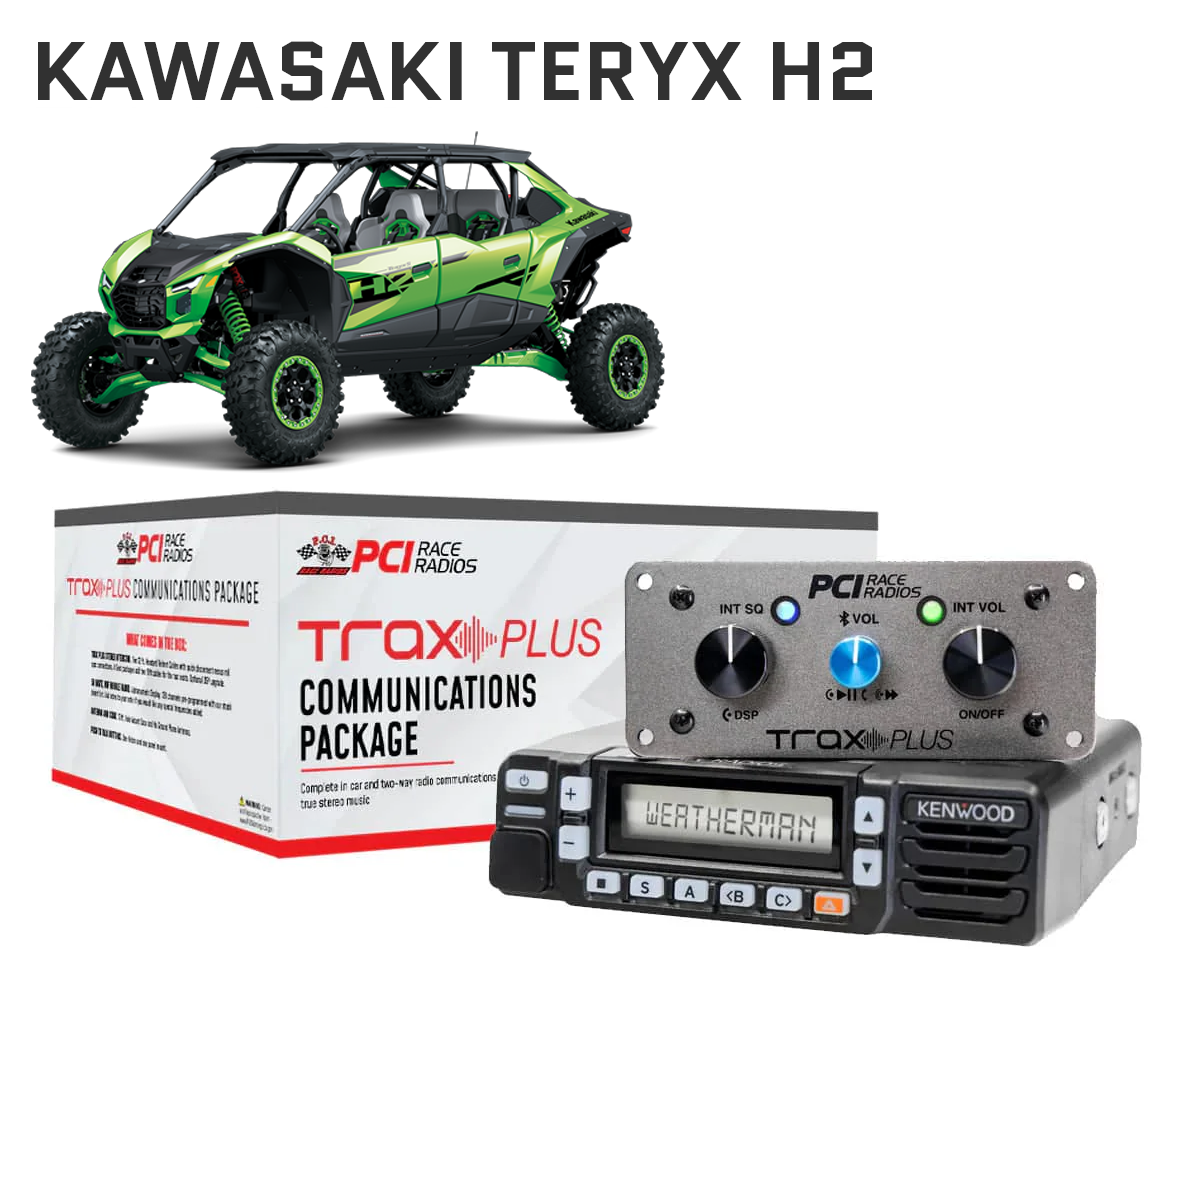
 Kawasaki Teryx H2 Trax UTV Communications PackageFrom $ 1,844.99From $ 1,844.99
Retail Price: - Kawasaki Teryx H2 Elite UTV Communications Package
 Kawasaki Teryx H2 Elite UTV Communications PackageFrom $ 1,364.99From $ 1,364.99
Retail Price: - Rocker Intercom Only - cables sold separately

 Rocker Intercom Only - cables sold separatelyFrom $ 890.99From $ 890.99
Retail Price: - RZR PRO R Ultimate 2026 Elite UTV Communications Package

 RZR PRO R Ultimate 2026 Elite UTV Communications PackageFrom $ 1,364.99From $ 1,364.99
Retail Price: - RZR PRO R Ultimate 2026 Trax UTV Communications Package
 RZR PRO R Ultimate 2026 Trax UTV Communications PackageFrom $ 1,844.99From $ 1,844.99
Retail Price: - RZR PRO R Series 2025 Elite UTV Communications Package

 RZR PRO R Series 2025 Elite UTV Communications PackageFrom $ 1,364.99From $ 1,364.99
Retail Price: - RZR PRO Series 2025 Trax UTV Communications Package
 RZR PRO Series 2025 Trax UTV Communications PackageFrom $ 1,844.99From $ 1,844.99
Retail Price: - Polaris Xpedition Rocker UTV Communications Package

 Polaris Xpedition Rocker UTV Communications PackageFrom $ 1,779.99From $ 1,779.99
Retail Price: - Polaris Ranger Trax UTV Communications Package

 Polaris Ranger Trax UTV Communications PackageFrom $ 1,844.99From $ 1,844.99
Retail Price: - Polaris Ranger Elite UTV Communications Package
 Polaris Ranger Elite UTV Communications PackageFrom $ 1,364.99From $ 1,364.99
Retail Price:


